
Create Custom Service Forms
Taskly allows you to create custom service forms, so that you can capture as much information as you need from your customers to help quote as accurately as possible. The following guide will walk you through setting up custom forms and previewing them on your booking flow.
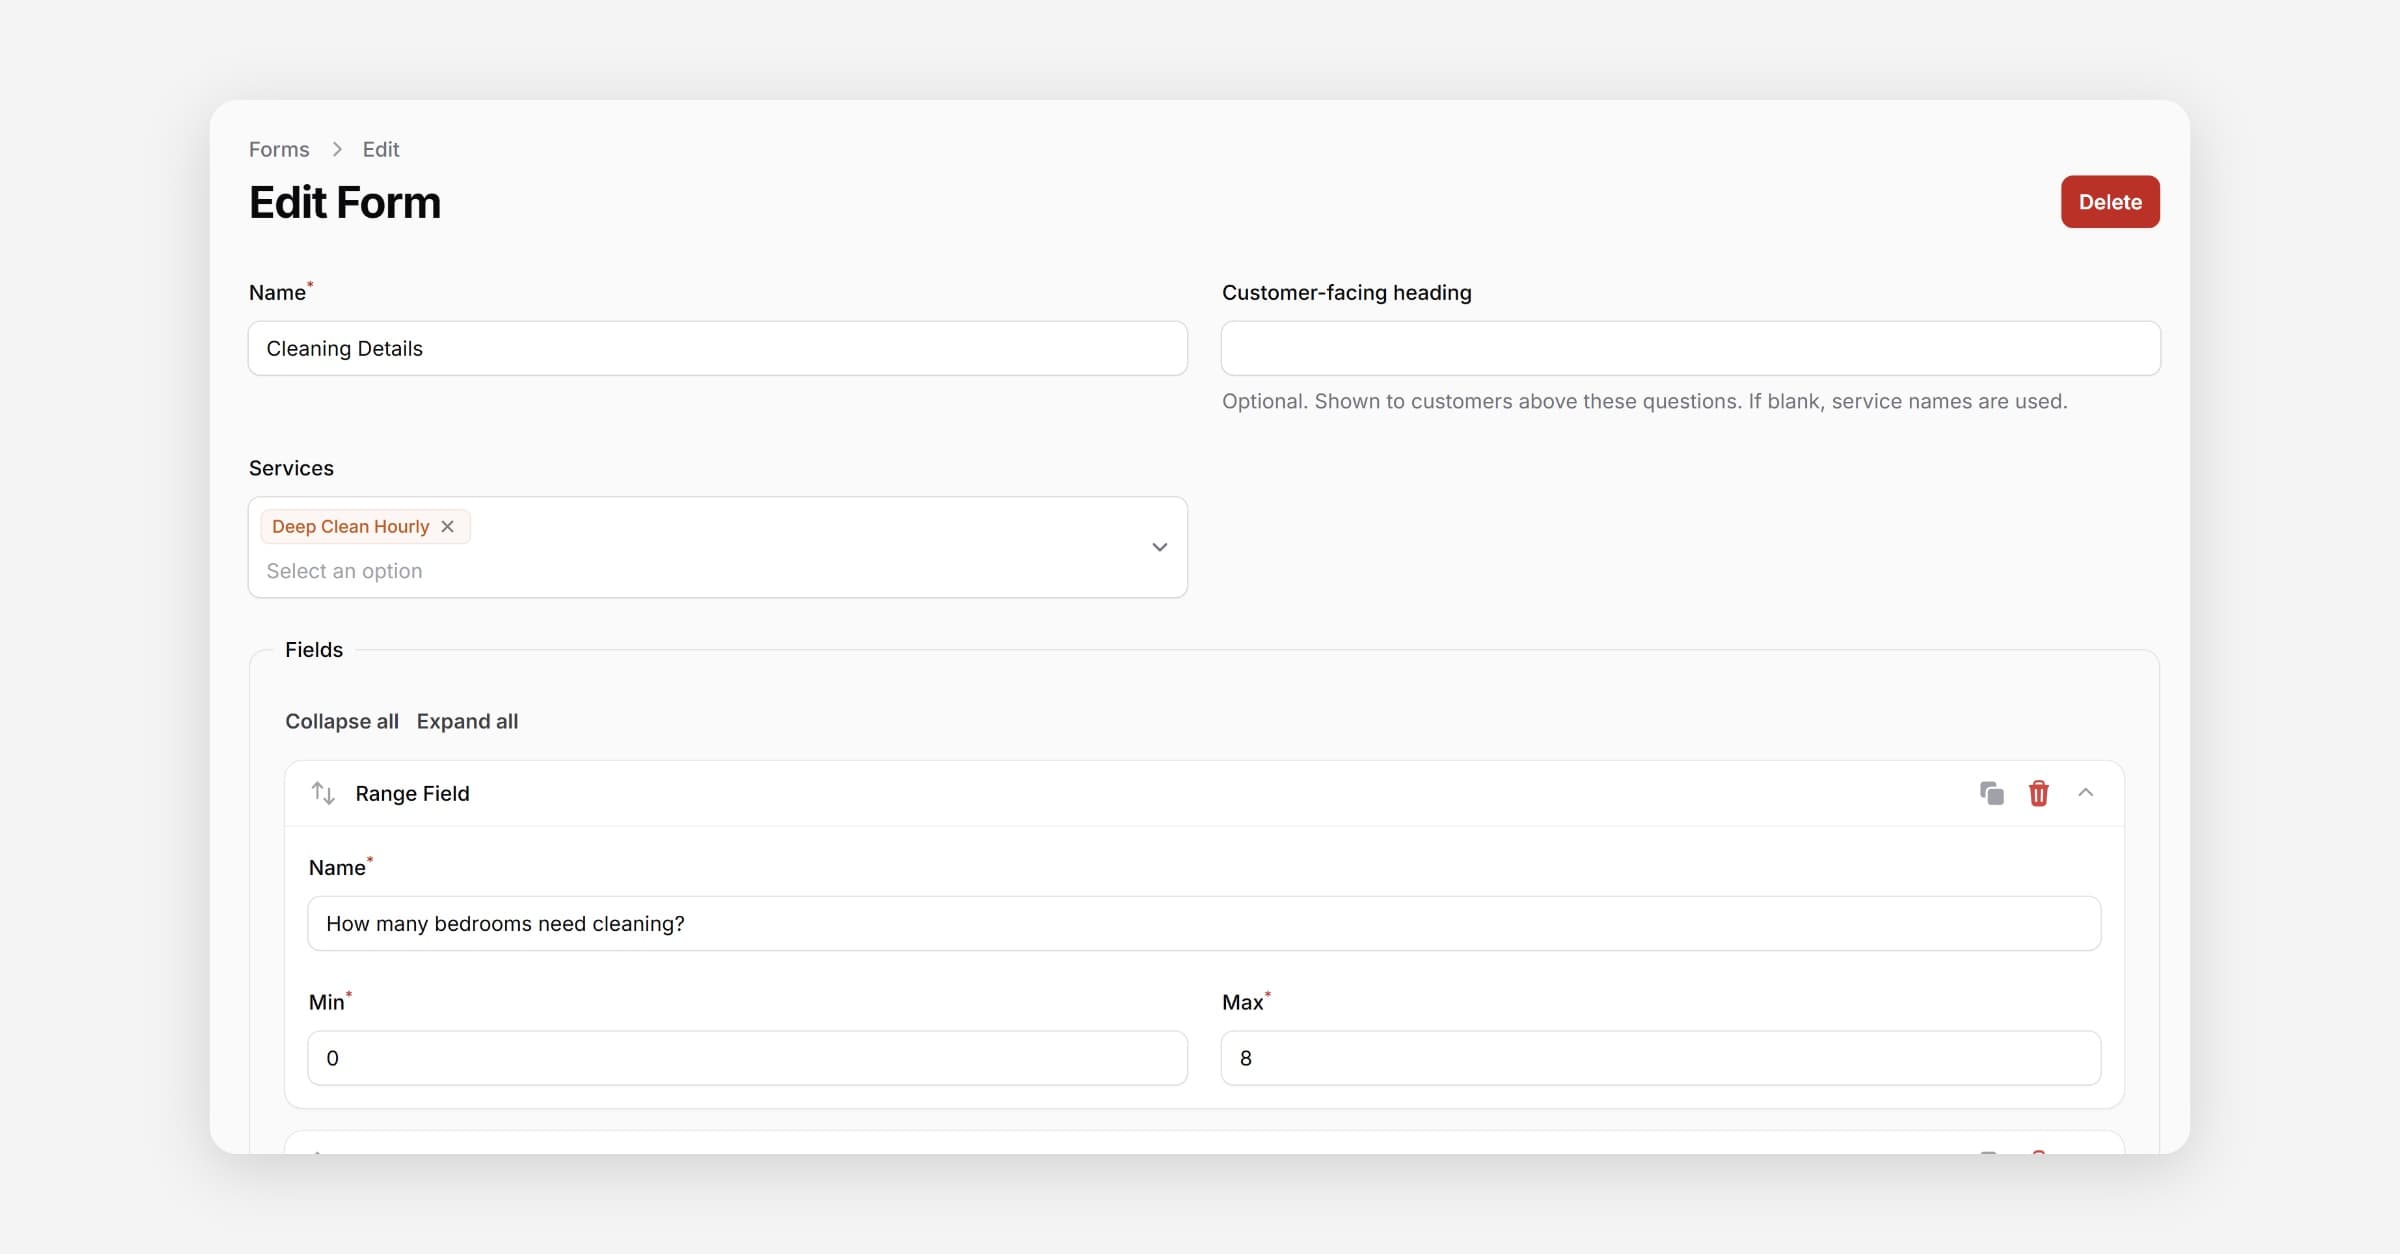
Taskly allows you to create custom service forms so that you can capture specific information from your customers to help quote as accurately as possible. The following guide outlines how to set up custom forms and preview them.
Custom form fields will only be displayed if a customer selects a service the form has been applied to. For example, you can have a form for cleaning services and a separate form for other services such as house washing or gardening. If a customer selects a cleaning service, they will only see the cleaning form and not unrelated questions.
Create a Custom Booking Form
Go to Forms
Press New Form
Enter the Name of the form, e.g. Cleaning Requirements
Add the Services you would like the form to appear for — the form will only display when a customer selects one of these services in their booking
If a customer selects two services that both have the same custom form applied, the form will only appear once in the booking process.
Press Add Fields to add questions to your form
There are four field types available: Text — free text input; Range — a slider for numeric values e.g. square meterage; Checkbox — a tick box for agreement; Select — a dropdown with multiple options e.g. number of bedrooms.
As you add and edit fields, a live preview beside the builder shows the form exactly as the customer will see it, for example the slider for a Range field or the dropdown for a Select field. This preview updates as you type, even before you save the form.
Enter all the fields you need and arrange them in the correct order — you can drag and drop fields using the arrows
Press Save Changes
Test Your Form on Your Booking Form
The live preview in Forms is the quickest way to check your form. If you also want to test it end to end as a customer would, you can open your website booking form.
Custom forms are only displayed in the full website booking form, not the quick embed form.
Go to Settings and from the Website section, press Copy to copy your booking URL
Paste the URL into a new tab
Make sure your Website setting is Enabled or the booking form will not load.
Enter an address and press Continue. If you've set a booking radius, use an address within it.
Select the service you associated your custom form with
The form will appear — check that you are happy with the order and presentation of the questions. Return to Forms in Taskly to make any changes.
Was this helpful?