
Quick Start Guide
The following guide outlines how to complete the Taskly quick start wizard, so that you can start setting up your workspace.
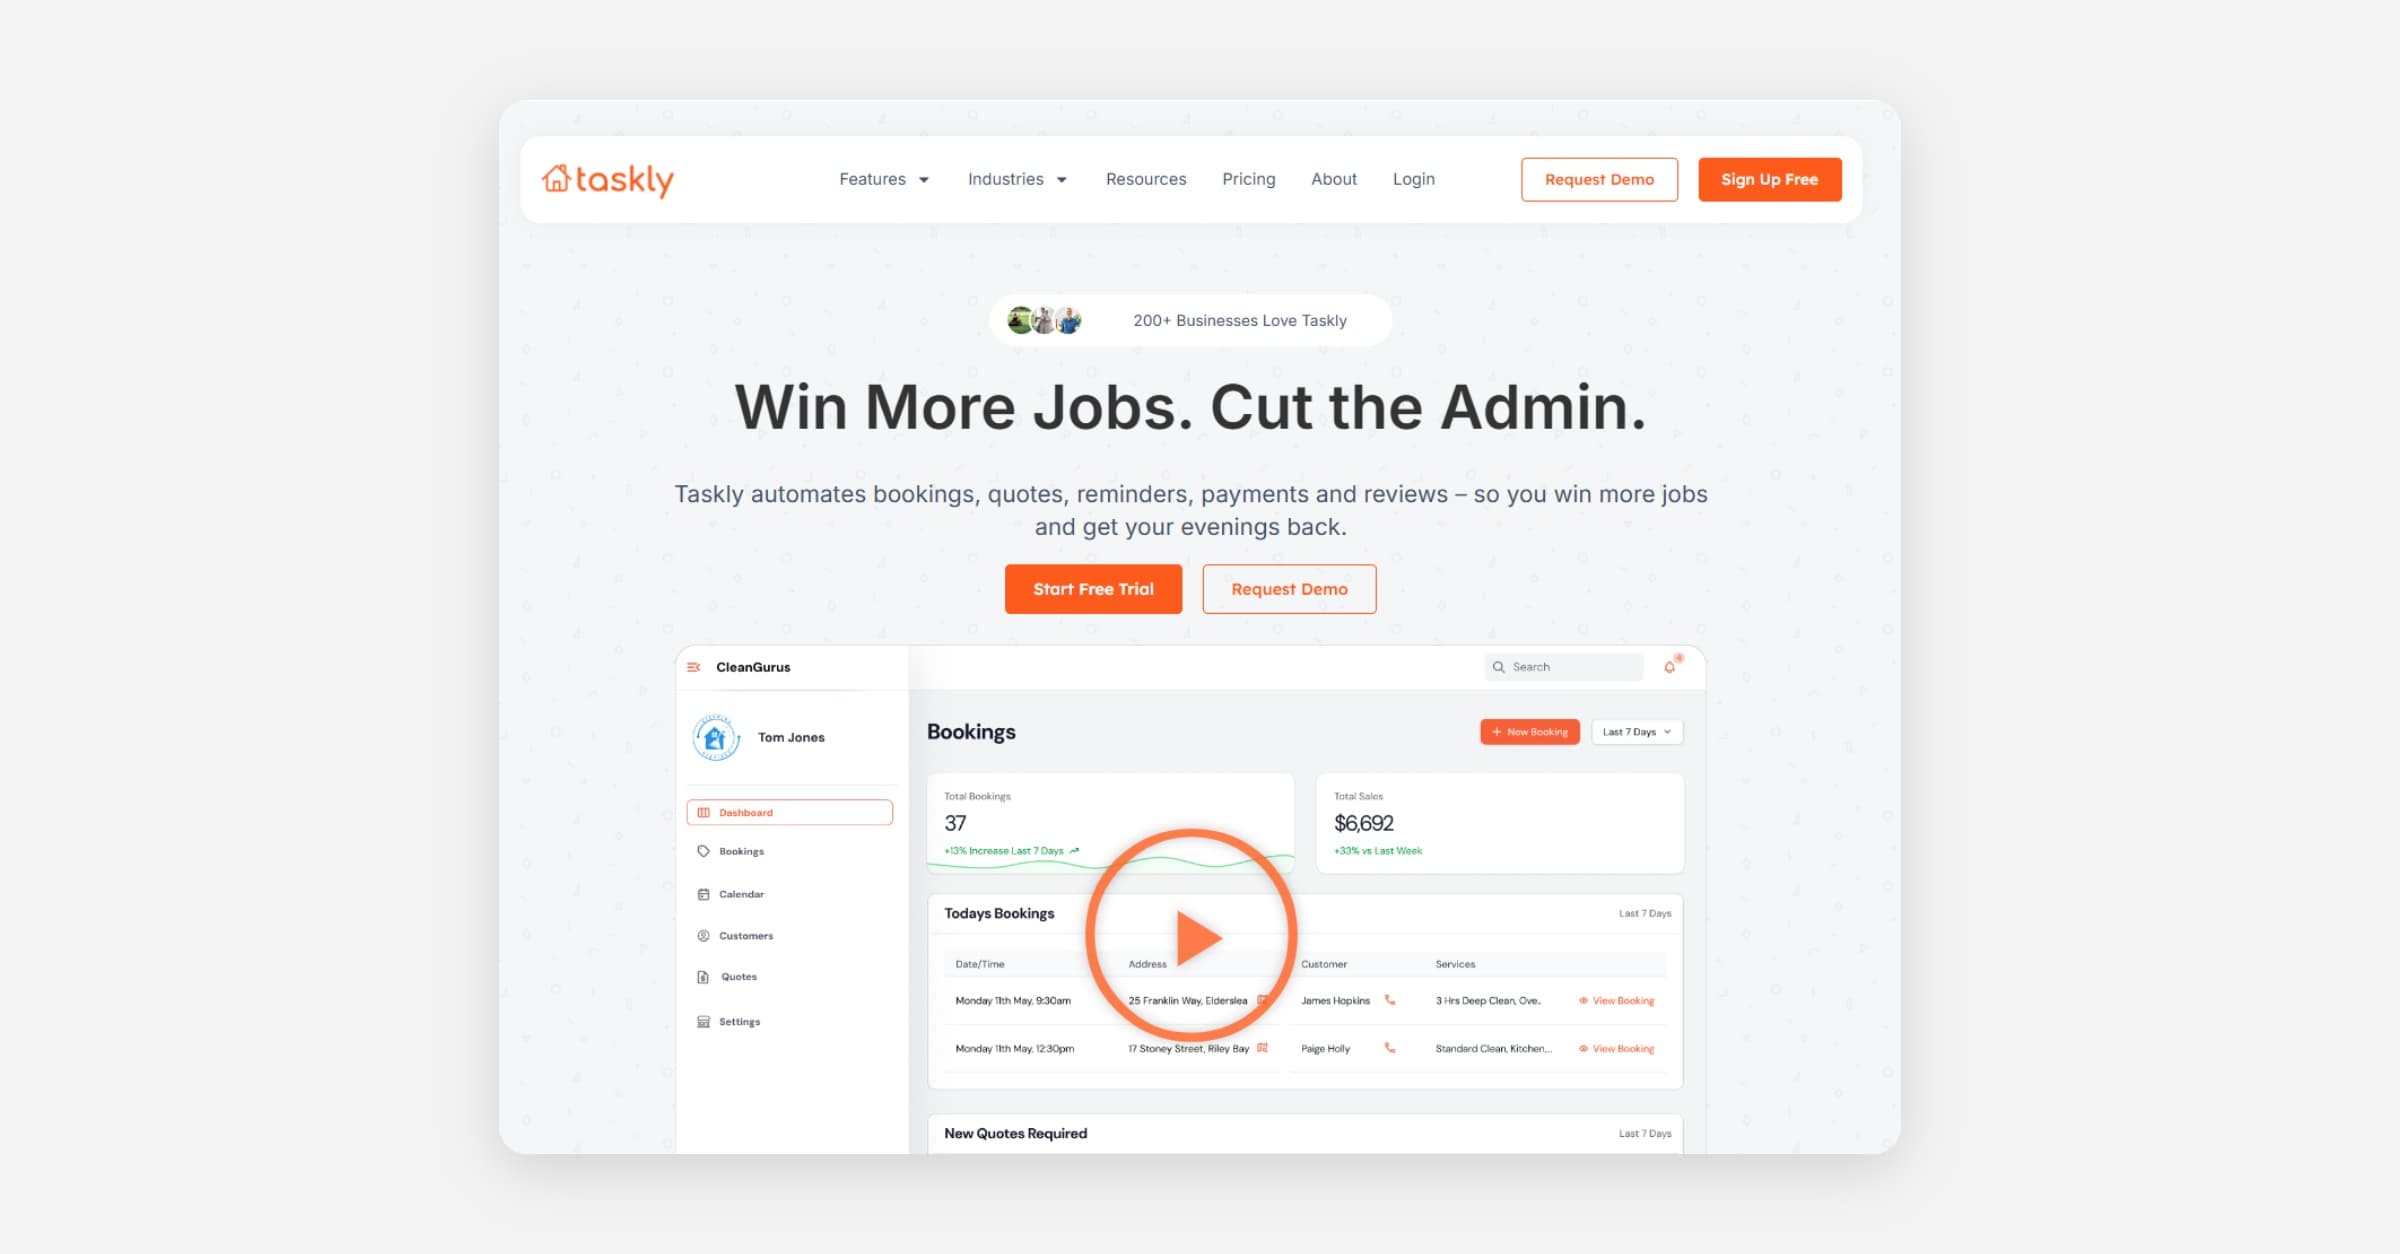
The following guide outlines how to complete the Taskly quick start wizard so that you can start setting up your workspace.
Getting Started Wizard
Enter your Business Name
Enter your Business Email
Enter your Business Phone — this number will be displayed on emails sent to customers who book with you
Enter your Business Website — Taskly will point customers to this website once they finish the booking process. Leave this blank if you do not have a website.
Remember to include https://
Press Next
Press Browse and upload your logo — Taskly will add your logo to the booking form and include it in all customer communication
Choose your Brand Color — Taskly will use this colour on the booking form and in emails sent to your customers
Press Next
Enter your Business Address — Google will auto-populate suggestions. Your address is not shared with customers unless you opt to take at-home bookings.
Enter your Booking Radius — the distance you are willing to travel for bookings
It's better to have a large radius and factor travel time into your quotes. Taskly will prevent customers outside this radius from booking via your website forms.
Press Submit
You're now ready to start setting up the rest of your platform. We recommend setting up your categories and services next, or configuring your payment settings.
Was this helpful?